$500–$750
Estimated DIY savings
If you’re looking to take advantage of the energy efficiency and savings potential of a heat pump water heater, consider buying a unit and installing it yourself.

Estimated DIY savings

I installed it in our insulated and finished garage. Super easy!
Kevin | Kennewick, WA

Depending on the complexity of the job, can save big by installing your own versus having an installer do the work.
Estimated DIY savings
The tools and materials you’ll need can all be found at your local hardware store. No special tools or license is required.

You can do it on your own time. After gathering your permit and materials, you’ll need about half a day, or 4–5 hours, including draining and filling the tank.
I installed it in our insulated and finished garage. Super easy!
Kevin | Kennewick, WA
This guide will walk you through every step of the process, with visual guidance and tips from the pros. And don’t worry; if you get stuck and need assistance, there are plenty of installers nearby that can help!

Before you begin, read through this guide and your heat pump water heater’s installation manual. This will give you a sense of what you need and the type of work that will be involved.
This guide will walk you through each step of replacing an electric tank water heater with a heat pump water heater. Make sure your current water heater is electric and verify that you have a 30 amp circuit breaker and at least 10-gauge wire. Check with your city or county for permit requirements before you begin the installation process.
Measure the temperature of the hot water from your current water heater by running the sink or shower for into a bucket 3 minutes and taking the temperature with a low temperature cooking thermometer. You’ll want to use this as the setpoint for your heat pump water heater.
Start by turning off the power to the existing water heater at the breaker box. Double-check by removing the water heater’s junction box cover plate and holding a voltage meter next to the wire connections. If it does not light up, the circuit has been properly shut off.
Now it’s time to drain the old water heater. Hook up a hose to the water heater drain and open the valve, leaving the cold water supply open to flush out any debris. Then, shut off and disconnect the cold water supply and let the tank drain completely.
Draining the tank can take time and may require cleaning out sediment in the drain valve and/or the hose. If gravity alone isn’t enough to clear the tank, you may need a small pump designed to move water.
When the tank is empty, remove the flex supply lines and disconnect the power. If flex lines are already connected to the supply, there should be plenty of pipe to which you can connect the new fittings. Otherwise, be sure to leave 3–5 inches of pipe for the new connections.
Remove the temperature/pressure relief valve plumbing, and if reusable, save it for reinstallation on the new water heater. Remove the electrical wire nuts, but don’t cut the length of wire until you know what is needed for the new heater installation.
Remove the old water heater.
Tip: Before you take your old water heater to the landfill, check to see if your waste management provider has an appliance recycling program.
Clean up your working space to prepare for installing the heat pump water heater.
Inspect all remaining fittings to make sure they are sound and functional. If they need to be replaced, now is a great time to do it. If you are replacing the cold water valve, you will need to shut off water to the whole house.
Materials: Water supply pipes; Shutoff valve; Pipe for temperature and pressure relief valve; Teflon tape; Mixing or anti-scald device (optional); Pressure reducing valve (optional); Thermal expansion tank (optional); Construction channel or wood blocking (optional)
Your new heat pump water heater may require a couple of changes to the location and plumbing. First, it may have a larger diameter than your old water heater, and six inches of clearance from the wall is recommended. Refer to the installation manual for clearance requirements around the exhaust fan.
Tip: Use construction channel or wood blocking to space the heat pump water heater away from the wall. This can help secure seismic strapping and reduce vibration transferring from the straps to the wall.
The hot water outlet on this heat pump water heater is located on the side of the tank.
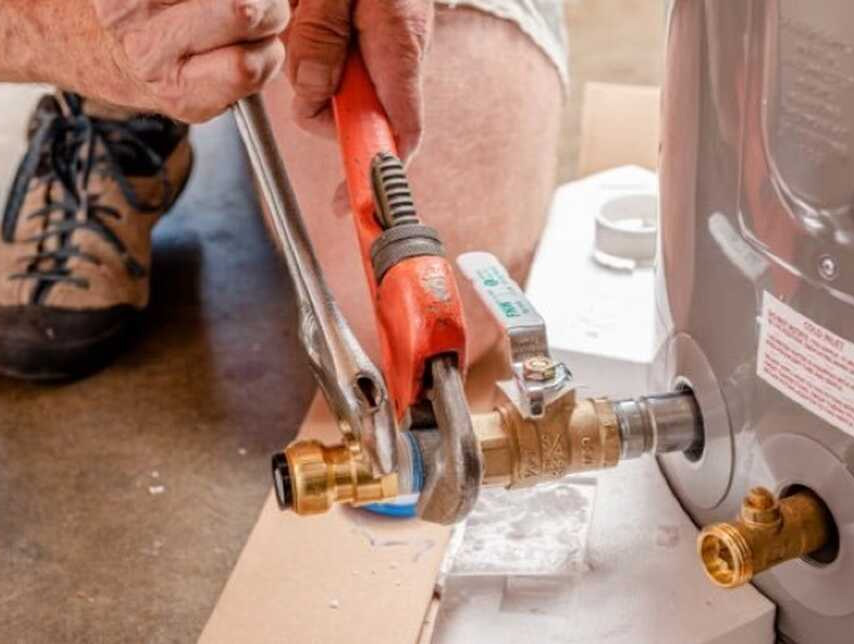
Second, unlike the old water heater, the water inlet and outlet lines on some heat pump hybrid water heaters may be located on the side of the unit instead of on top. You will need longer supply lines to reach the inlet and outlet. Use solid pipe and flexible pipe connections if they are permissible according to local code. These do not require soldering, clamps, unions, or glue. Use Teflon tape on all threaded connections.
Tip: Do not reuse the old piping — it’s not worth the risk of leaks.
If you are installing your water heater in a closed water system, which lets water in through the supply line and doesn’t let it back out except through drains and sewer lines, you will need to install a thermal expansion tank to prevent problems resulting from pressure buildup. Install the temperature and pressure relief valve and a discharge line per the manufacturer’s instructions and local code.
Install a shutoff valve in the cold water inlet line near the water heater. If you are not using flex connectors, use unions in the hot and cold water supply lines to make removal of the water heater easier for service or replacement. If required by local code, install a mixing valve or anti-scald device in the domestic hot water line and a pressure reducing valve in the cold water inlet line.
Materials: Drain pan; Rigid insulation foam pad; Seismic strapping; Shims (optional); Stand (optional)
Place the rigid foam pad and drain pan for the heat pump heater on the floor, or if local code requires, place the drain pan atop a stand. Move the water heater onto the drain pan. Ensure that the control panel is facing outward for easy access. Level the unit using shims, if necessary.
If required by local code, install seismic strapping.
Materials: Pipe insulation (optional)
With the heat pump water heater in place, connect the supply lines to the cold water inlet and hot water outlet.
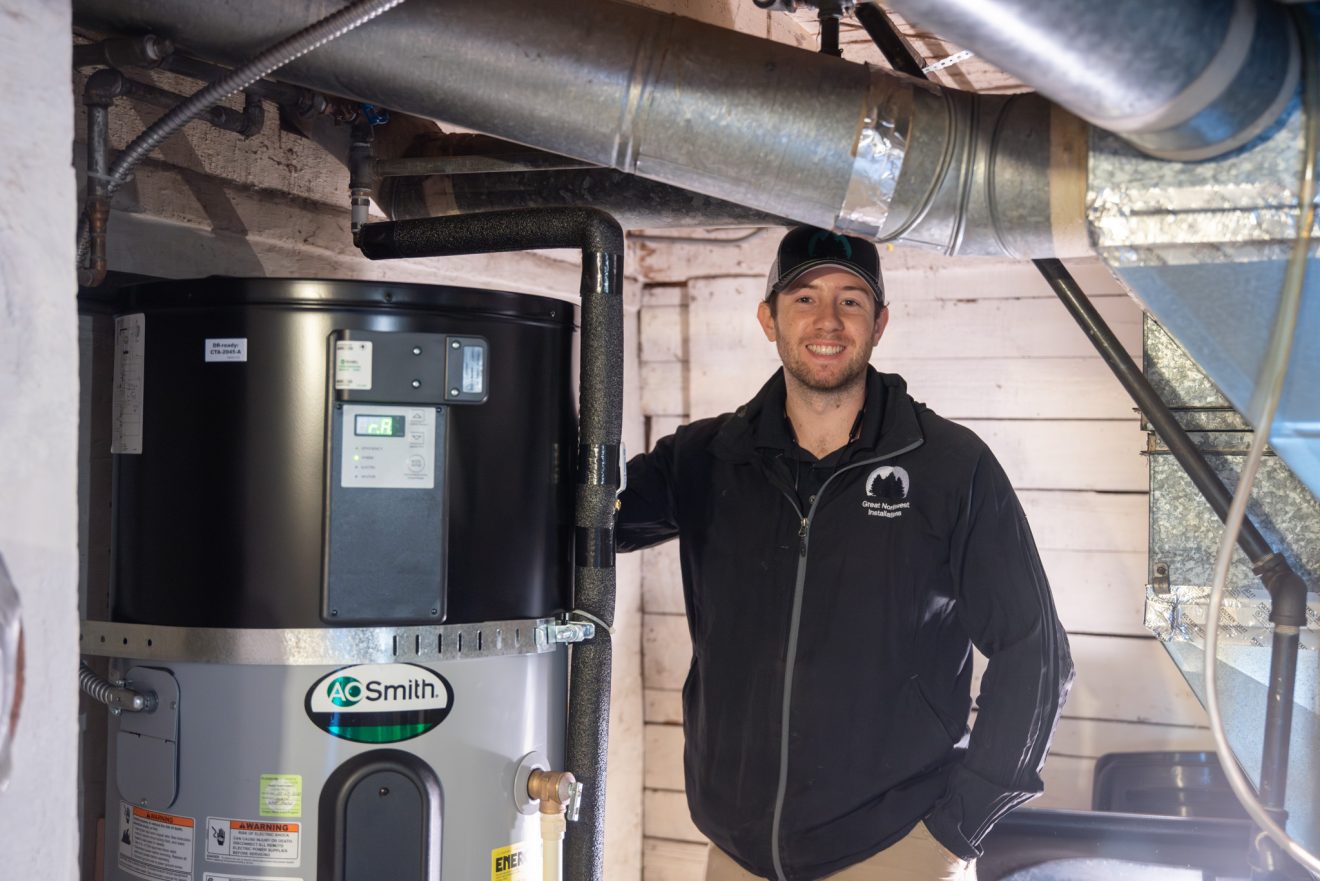
Tip: Insulate the hot water supply line with a polyethylene or neoprene foam pipe sleeve. This reduces heat loss and can raise water temperature 2–4 °F hotter than uninsulated pipes can deliver. You also won’t have to wait as long for hot water when you turn on a faucet or shower head, which helps conserve water and maximize energy savings.
Materials: PVC pipe; Condensate pump and vinyl tubing (optional)
Unlike your old water heater, the heat pump unit produces condensate that needs to be drained. If there is a nearby floor or sink drain, attach PVC pipe to the water heater’s drain port(s) and route the condensate in a downward slope.
Tip: Rather than using an elbow to connect the condensate line to the tank, use a tee fitting with an unglued cap that can be removed for easy cleaning access.
If there is not a drain nearby, a condensate pump is required. Refer to manufacturer instructions before connecting the condensate drain line into an existing drain or discharge line. Most condensate pumps can be attached to a wall hanger and plugged into a standard 120 Volt outlet. Ensure that the tubing is connected securely with hose clamps to the pump output and drains to a suitable termination point. If a drainage pipe is directed outside, make sure the pipe will not freeze by having it terminate at least 6 inches above the ground, and making sure there are no low spots in the tubing outside. Install the condensate pump per manufacturer instructions. Verify the pump is working properly by filling it slowly with water until the pump engages.
Tip: The tubing from the condensate pump may need to be routed up and over the surrounding rooms. To help pull the tubing through insulation and/or areas with limited access, attach a long PVC pipe to the tube and gently pull the tube through. Tubing and pipe hangers can be installed on condensate lines to prevent slippage and achieve a cleaner look.
Open the cold water valve slowly at first to make sure there are no leaks. Then, fill the heat pump water heater. Meanwhile, turn on the highest hot water faucet in the house to allow air to escape as the tank is filled and double-check the piping for leaks. Don’t worry if some rusty water gets pushed through. When the hot water faucet in your house has a steady stream, you’ll know the tank is full. Run the faucet for 3 minutes after a constant flow has been achieved before turning it off.
When the tank is full, connect to the electrical supply according to the manufacturer’s instructions. Use new properly sized wire nuts to connect the wires. Then, turn on the power to the heat pump water heater at the breaker. Use a voltage meter to verify proper voltage. Make sure all cover plates are properly installed.
Most water heaters will go through a self-check and verify that the tank is full of water, that it has sufficient power, and that there aren’t any errors. This can take up to five minutes (you may hear a series of clicks and the fan may turn on and off).
The first heating may use electric resistance to deliver hot water to you as quickly as possible, even if the unit is set to Hybrid or Heat Pump mode. The compressor and fan will not operate until the water has reached a certain temperature. Your hybrid water heater will default to Hybrid mode. This setting is ideal for daily use because it uses the heat pump primarily, activating the less-efficient electric heating elements only when demand is high. Refer to the manufacturer’s instructions for information on other operating modes.
Using the digital controls on the heat pump water heater, set the water to the temperature you measured in the beginning.
Congratulations! You’ve successfully installed your new heat pump water heater, and you’re set to enjoy years of reliable hot water and savings.
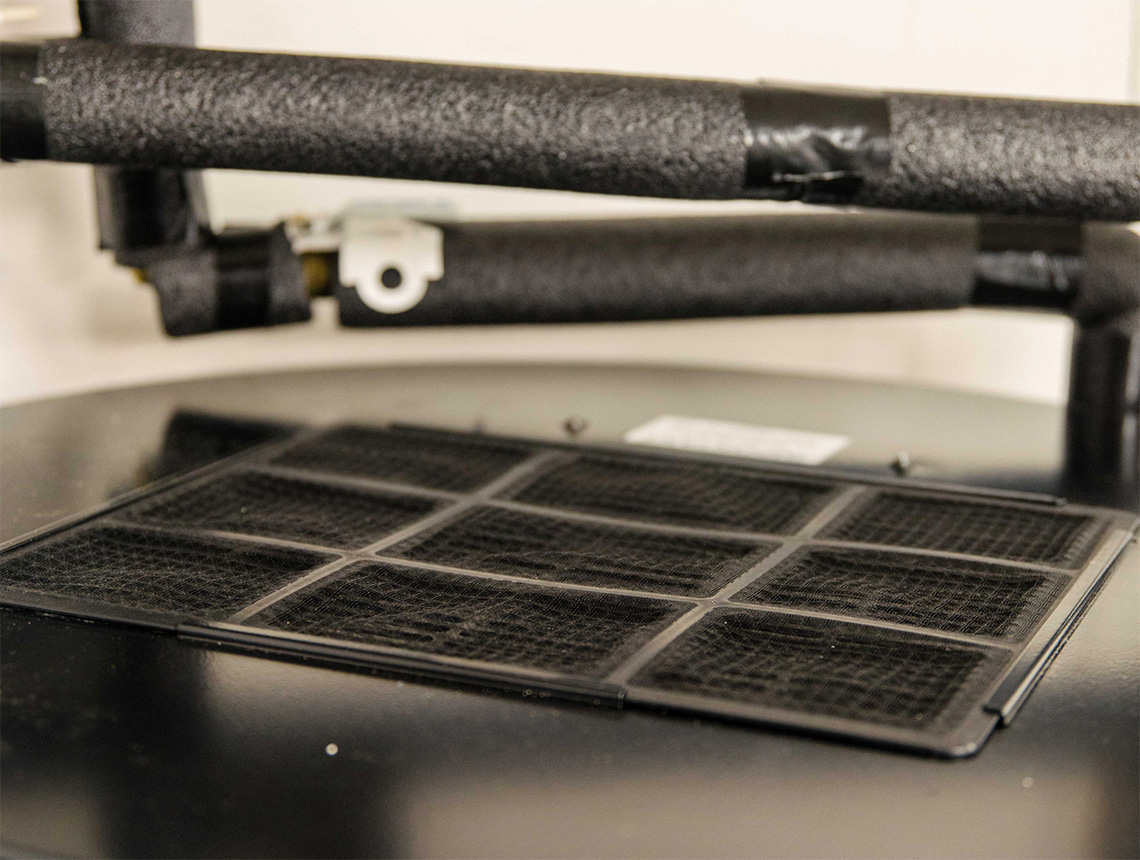
Perform preventative maintenance on your heat pump water heater as directed by the manufacturer’s instructions. This may involve:
If you’re stuck, or if things don’t seem right after you’ve installed your heat pump water heater, don’t panic. All installation guides have troubleshooting sections to help you through challenges, and water heater manufacturers have customer service lines to walk you through each step. (Keep in mind that not all manufacturers have weekend hours.) Assuming you’ve already double-checked the manufacturer’s instructions, contact a knowledgeable installer who can lend you a hand.

See how much you can save upfront on a heat pump water heater.
Connect with a qualified local professional for quotes and service.
Discover nearby retailers and explore our DIY Guide for help upgrading to a heat pump water heater on your own.